Showing posts with label revamp. Show all posts

Friday, January 13, 2017

DIY High Low Button-Up Crop Top

THIS

TO THIS


Hello everyone!! I'm finally back with another revamping project. I got this dainty button up from Salvation Army (only place I can find good second-hand stuff in my town so like..) for only $3. It is a bit, I mean very outdated, but I was really attracted to the color and the lace high neck. The shirt is a very fancy for me and if you know me, I usually go casual/street-style. That is why I went with a high low cropped top and added the folded sleeves for a more relaxed look. 

To begin my revamping, I cut off the sleeves because they were gathered at the top to create a poofy affect (totally out of fashion). I just want a regular sleeve.


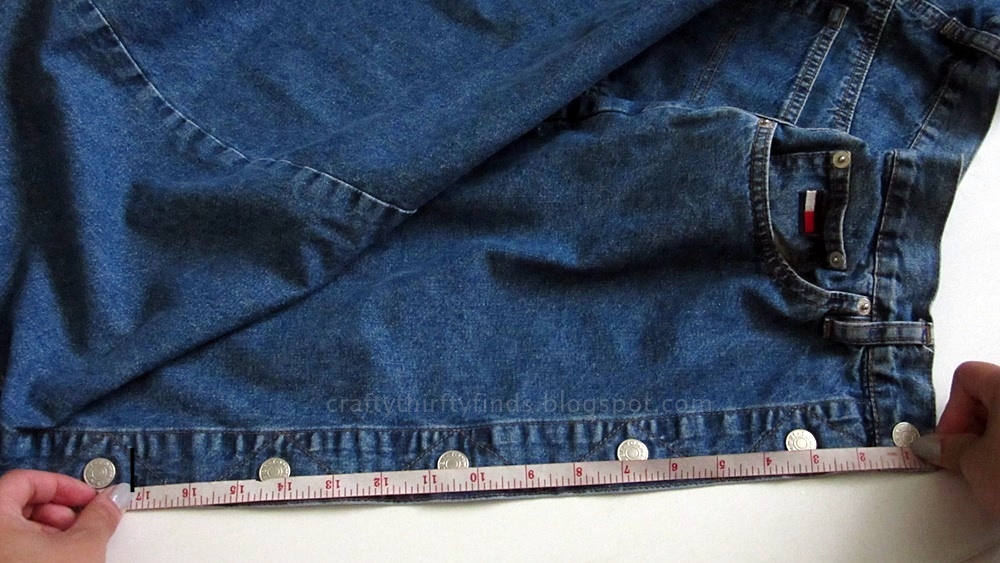
After doing that, I folded the shirt so that the middle of the front and back were the edges ( shown below because I know that didn't make a lot of sense). I then cut the bottom front to the length I wanted the crop to be and then continue cutting in a slanted fashion towards the middle back.


This is how it turned out/looked when I flipped it back to the front. 


Now to the sleeves. I cut off the cuff and trimmed the excess shoulder fabric off of the arm pattern. 


After making sure the arm pieces were okay to sew onto the shirt, I sewed them on and ended up cutting 11cm off of the sleeve for the folded sleeves. To create the folded sleeves, I just folded the sleeve up twice and sewed them down.


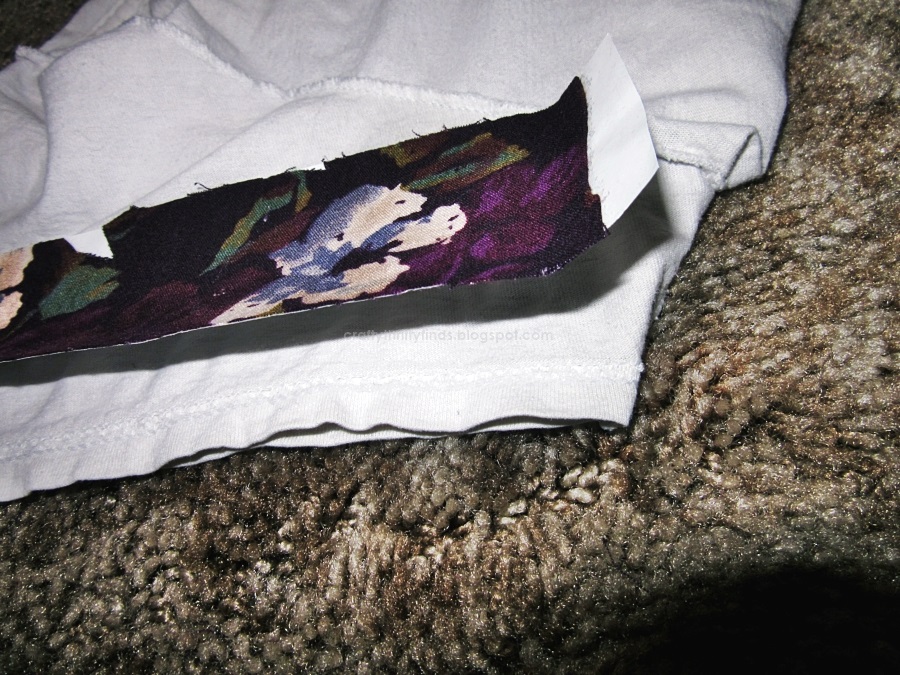
For the bottom hemming, I copied the old hem and sewed an blind stitch/invisible stitch. It was my first time doing it instead of observing my mom do it but the seam turned out to be okay. I showed my mom and she was like "you did it so ugly, are you going to redo it" -- ahhaahha no mum. No one will see it but you. 


Thank you for you time! 
Here is the final look! 

Saturday, August 13, 2016

DIY Button Up Skirt | Revamping

Hello! It's Pachia and I'm back with a DIY after a few thousand years. This time it is a Button Up Skirt inspired from the AA skirts. Hope you guys enjoy! Also, don't forget to check out my YouTube. I've been trying to upload regularly so go check for recent videos here

I went to my local Salvation Army and picked up this Denim Button Up Skirt.


As you can see, it isn't the most trendy thing right now, so I decided to make it look trendy. To do that, I measured out how long I wanted the new skirt to be.


I measured the length I wanted to be around 17 inches. I went ahead and marked 17 inches down from the waistband so that I can get an even cut around the skirt. After marking it, I went ahead and cut through the black marks I made.


This is how it turned out after I cut it.


Then, I hemmed the bottom of the skirt. Using a serger, I made the hem nice and flat before folding it in to sew.


 I folded the hem about half an inch and sewed it down with a yellow thread.

How it looks on the inside.

How it looks on the outside.
 I went ahead and sewed down another line next to the first one.


The skirt is done after hemming!


Thank you and I hope you guys enjoyed it!
Email me for more DIY/Revamping suggestions: pchvngg@gmail.com

Friday, January 1, 2016

DIY Flower Pocket Tee


I've been wanting to make this tee for a long time and I finally diddd. Keep reading if you want to learn how I made it!
Things you will need:
  • Heat and Bond paper (i found mine at Walmart) or you can use transfer on paper if you're going to print your image.
  • Plain T-shirt
  • Graphic image of your choice (mine are just images from a shirt)
  • Pocket fabric of your choice
  • Iron for the Heat and Bond (if yours need it)
  • Scissors
  • Thread and Needle


Soo, what I did first was cut out the image and then put it on the heat and bond paper and basically followed the instructions that told me how to use the adhesive paper.

After doing that, I moved on to the pockets. I found a pocket template online and put my fabric on the screen and traced it on the wrong side of the fabric. 


After cutting the pocket out, I folded down the edges and just sewed them down for a cleaner look.

 After getting the image and pocket done, I put the shirt on and marked where the top of the pocket is going to sit. Since I wanted the flowers to stick up, I put the bottom of the flower stems on the line (shown below)


I ironed the image on and sewed the pocket down leaving the top open. This is how it looks like finished:


Moving on to the sleeves- I cut out two strips (one for each sleeve). The strip should be as long as the circumference of the sleeve and twice as wide as the width you want it to be.


I then used the adhesive paper to stick it to the sleeve.


Turning the shirt inside out, I ironed on the fabric to the INSIDE of the sleeve cover the seam line.

Finished on both sides:


 Turn the shirt right side out and fold in the sleeves.


It should look something like this. Fold down the white part above the fabric and sew down for a cleaner look. After doing that to both sides, the shirt is finished!


Thank you checking my blog out!