Showing posts with label aa. Show all posts

Saturday, August 13, 2016

DIY Button Up Skirt | Revamping

Hello! It's Pachia and I'm back with a DIY after a few thousand years. This time it is a Button Up Skirt inspired from the AA skirts. Hope you guys enjoy! Also, don't forget to check out my YouTube. I've been trying to upload regularly so go check for recent videos here. 

I went to my local Salvation Army and picked up this Denim Button Up Skirt.


As you can see, it isn't the most trendy thing right now, so I decided to make it look trendy. To do that, I measured out how long I wanted the new skirt to be.
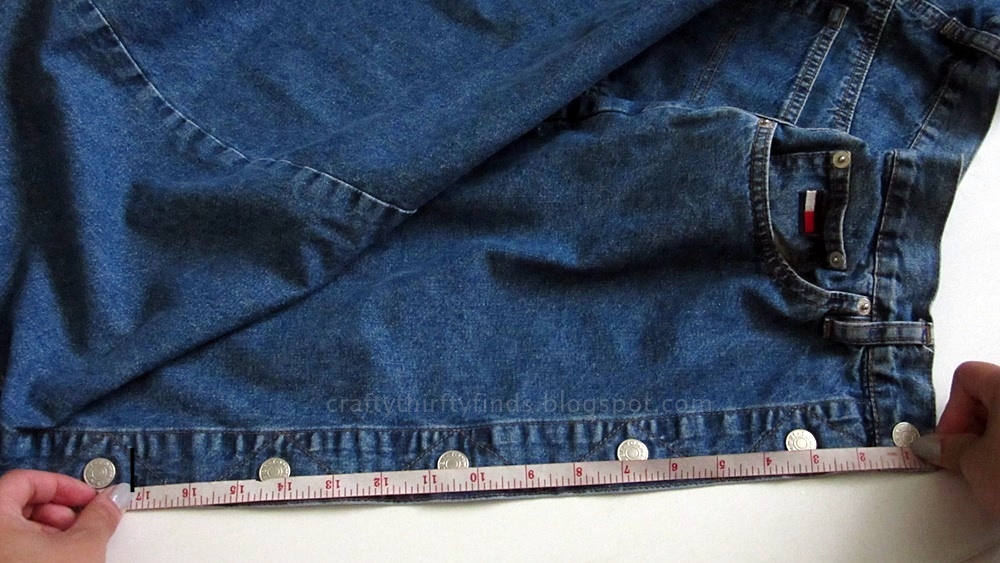


I measured the length I wanted to be around 17 inches. I went ahead and marked 17 inches down from the waistband so that I can get an even cut around the skirt. After marking it, I went ahead and cut through the black marks I made.


This is how it turned out after I cut it.


Then, I hemmed the bottom of the skirt. Using a serger, I made the hem nice and flat before folding it in to sew.


 I folded the hem about half an inch and sewed it down with a yellow thread.

How it looks on the inside.

How it looks on the outside.
 I went ahead and sewed down another line next to the first one.


The skirt is done after hemming!


Thank you and I hope you guys enjoyed it!
Email me for more DIY/Revamping suggestions: pchvngg@gmail.com

Saturday, January 9, 2016

Dress Transformation: Fitted V-neck Shirt

BEFORE 
 AFTER

This dress was bought a while back at the Salvation Army and I didn't' know what to do with it so I experimented and this happened!

So the first thing I did was just cut the dress apart. I separated the back from the front and the back was two pieces so I separated those too.
After doing that, I folded the front piece of the dress in half, right sides inside.


I used a fitted crop top as my template and traced it.
Using the piece I just cut out, I fold it in half again and used it to make my back piece. (sorry it's blurry!)
 Then I just cut it. If you're new to cutting fabric, I recommend you to use pins to hold the pieces together.
 I realized that I didn't need to cut the back pieces apart....and ended up messing up. I fixed it by simply rehemming the hem on the other side.
 After doing that, I sewed the back pieces together.
Placing the two pieces  right sides together, I sew down the shoulders and sides. 
Originally, I was going to make a mock-neck but i forgot to make a smaller neck so I went ahead and cut a V in the front. It's better to cut the V before you sew the front and back together but I realized too late that the mockneck wouldn't work.

 To make the V-neck, I fold the front in half and mark how low I want the V to go and simply traced a V up to the neck then cut it out.


After hemming, I cut out the extra fabric at the V-neck area.

You can leave it at this, or go on and make the straps for the V-neck. I just used the old straps on the dress.
I just the shirt and figured out where I wanted the straps and hand sewed them on. Easy as that! The shirt is now all doneee.

Finished look