

Monday, January 25, 2016
DIY Turtleneck Halter Top
Hey! I'm back! and with a video! I decided to change up the pink turtleneck I bought recently (from my last haul). As you can guess from the title, I made a Halter top out of it! If you want to see how I did it, go on and check it out on my youtube here!


Saturday, January 9, 2016
Dress Transformation: Fitted V-neck Shirt
BEFORE

AFTER

This dress was bought a while back at the Salvation Army and I didn't' know what to do with it so I experimented and this happened!
So the first thing I did was just cut the dress apart. I separated the back from the front and the back was two pieces so I separated those too.
After doing that, I folded the front piece of the dress in half, right sides inside.


I used a fitted crop top as my template and traced it.


Placing the two pieces right sides together, I sew down the shoulders and sides.


To make the V-neck, I fold the front in half and mark how low I want the V to go and simply traced a V up to the neck then cut it out.


After hemming, I cut out the extra fabric at the V-neck area.
You can leave it at this, or go on and make the straps for the V-neck. I just used the old straps on the dress.

I just the shirt and figured out where I wanted the straps and hand sewed them on. Easy as that! The shirt is now all doneee.

Finished look


Friday, January 1, 2016
DIY Flower Pocket Tee

I've been wanting to make this tee for a long time and I finally diddd. Keep reading if you want to learn how I made it!
Things you will need:
- Heat and Bond paper (i found mine at Walmart) or you can use transfer on paper if you're going to print your image.
- Plain T-shirt
- Graphic image of your choice (mine are just images from a shirt)
- Pocket fabric of your choice
- Iron for the Heat and Bond (if yours need it)
- Scissors
- Thread and Needle

Soo, what I did first was cut out the image and then put it on the heat and bond paper and basically followed the instructions that told me how to use the adhesive paper.


 After doing that, I moved on to the pockets. I found a pocket template online and put my fabric on the screen and traced it on the wrong side of the fabric.
After cutting the pocket out, I folded down the edges and just sewed them down for a cleaner look.

After getting the image and pocket done, I put the shirt on and marked where the top of the pocket is going to sit. Since I wanted the flowers to stick up, I put the bottom of the flower stems on the line (shown below)


I ironed the image on and sewed the pocket down leaving the top open. This is how it looks like finished:

Moving on to the sleeves- I cut out two strips (one for each sleeve). The strip should be as long as the circumference of the sleeve and twice as wide as the width you want it to be.

I then used the adhesive paper to stick it to the sleeve.

Turning the shirt inside out, I ironed on the fabric to the INSIDE of the sleeve cover the seam line.
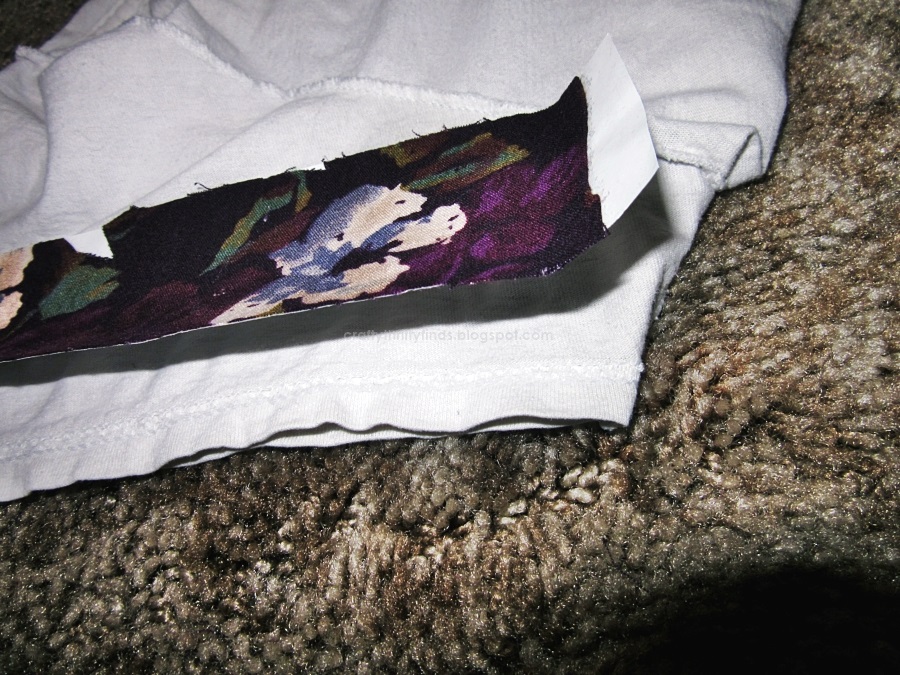

Finished on both sides:

Turn the shirt right side out and fold in the sleeves.


It should look something like this. Fold down the white part above the fabric and sew down for a cleaner look. After doing that to both sides, the shirt is finished!


Thank you checking my blog out!
Saturday, December 19, 2015
Mini Thrift Haul
It's winter break and I'm back with a Thrift Haul!
This is my second one so far and I found some really cute clothing from the Salvation Armyy.
----------------------------------------------------------
The first item that I got is this super cute pastel pink, mock neck, long sleeve shirt.

I've been wanting to get these to add to my wardrobe and finally got them!
Gonna get them in every color now. (;


Tennis Skirt: Dresslink
--------------------
The next item is this super comfy cropped sweater.


The color is so creamy and it makes me want to cuddle up and drink some tea.
It's also very easy to pair up with high-waisted anything! I absolutely love my high-waisted pants.
Necklace: Claire's
Skirt: ???? I found it a long time ago somewhere....
----------------------
The last item is this cute collar shirt.
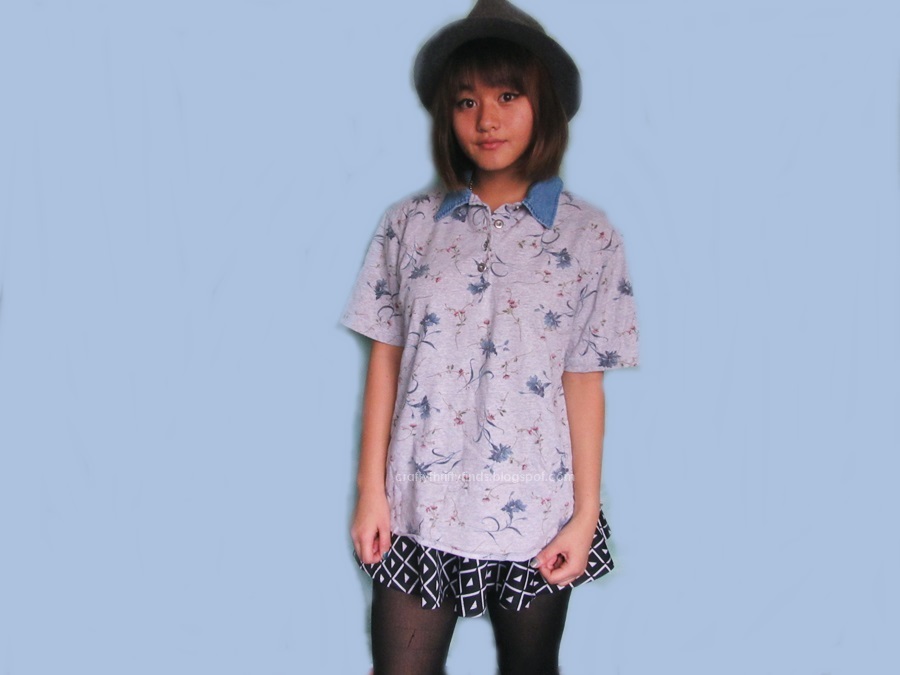

Collar shirts that have a denim collars or a contrasting color attracts me.
I'm not one for floral but this is so prettyyyy so I just had to get it.
Hat: F21
--------------------------
Hope you guys enjoyed it!
Also! I definitely recommend buying second hand clothing. Some items are still brand new and its cost efficient. I bought all of this for only $7!!! It's amazing! It's also very fun making up stories for each item you find ^^

Sunday, November 8, 2015
DIY Velvet Turtleneck Crop Top
I'm finally back with a tutorial! It's been fall for a while, but finally feeling the fall weather so I decided to make this tutorial. Honestly, I love layering clothes on top of crop tops even in the coldd because it's so comfortable. But anyway! My first time making clothes with velvet.
I bought this 2x extra large velvet long skirt from the thrift store a while backkk, like a couple years agooo and finally got to use it today!

I started off by removing the hems on the back of the skirt so that I have three pieces but still connected to each other.
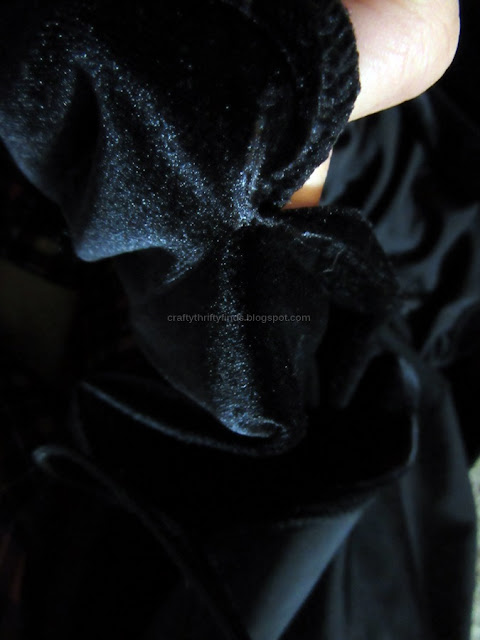


After trimming it, I folded in half and traced out the body piece. I'm not really showing everything in detail because there are a lot of tutorials that will show you how to cut the fabric.

I placed the fabric that is already cut out on top of the second fabric and basically cut it accordingly to the first one except for making the second sleeves and neck part less curved. (it is going to be the back piece)

After doing so, I got two pieces. a front piece and a back piece. Then I moved on to the sleeves.

Using the fabric that I cut out earlier, I used a sleeve pattern and cut it out according and trimming it to fit my arm. I didn't take pictures of the rest because I just sewed everything together like a normal shirt. The velvet was just like a knit fabric so it wasn't hard to work with! I was scared to work with it because of all the scary stories but it turned out just fine!
For the turtle neck part, I just cut out a strip long enough to fit the neck part and folded it in half and sewed it on. Easy as that! Here is the finish product:


Body Chain: Claire's
Pants: Flea Market
Booties: Aeropostale
I bought this 2x extra large velvet long skirt from the thrift store a while backkk, like a couple years agooo and finally got to use it today!

I started off by removing the hems on the back of the skirt so that I have three pieces but still connected to each other.
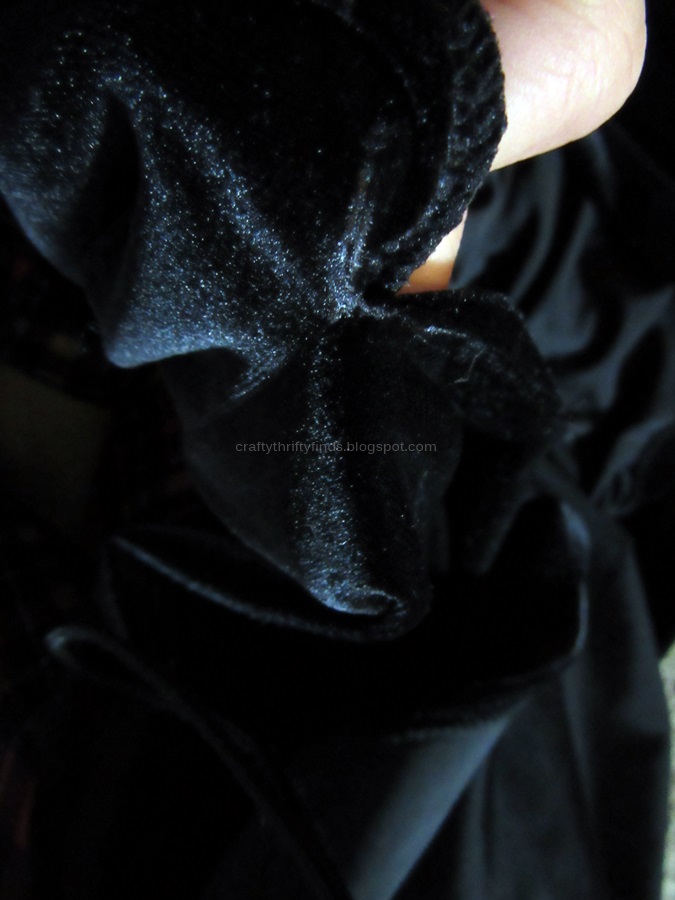

(sorry for the quality it was a bit too dark)
Then I cut the two sides off so that there's just the middle piece.

This is the middle piece. (I kept the two sides for later) I then trimmed the fabric so that it was even.
I also cut the fabric into halves so you have two pieces. One for the front and one for the back.

After trimming it, I folded in half and traced out the body piece. I'm not really showing everything in detail because there are a lot of tutorials that will show you how to cut the fabric.

I placed the fabric that is already cut out on top of the second fabric and basically cut it accordingly to the first one except for making the second sleeves and neck part less curved. (it is going to be the back piece)

After doing so, I got two pieces. a front piece and a back piece. Then I moved on to the sleeves.

Using the fabric that I cut out earlier, I used a sleeve pattern and cut it out according and trimming it to fit my arm. I didn't take pictures of the rest because I just sewed everything together like a normal shirt. The velvet was just like a knit fabric so it wasn't hard to work with! I was scared to work with it because of all the scary stories but it turned out just fine!
For the turtle neck part, I just cut out a strip long enough to fit the neck part and folded it in half and sewed it on. Easy as that! Here is the finish product:


Body Chain: Claire's
Pants: Flea Market
Booties: Aeropostale
Subscribe to:
Posts (Atom)